
01 · The starting point
Problem
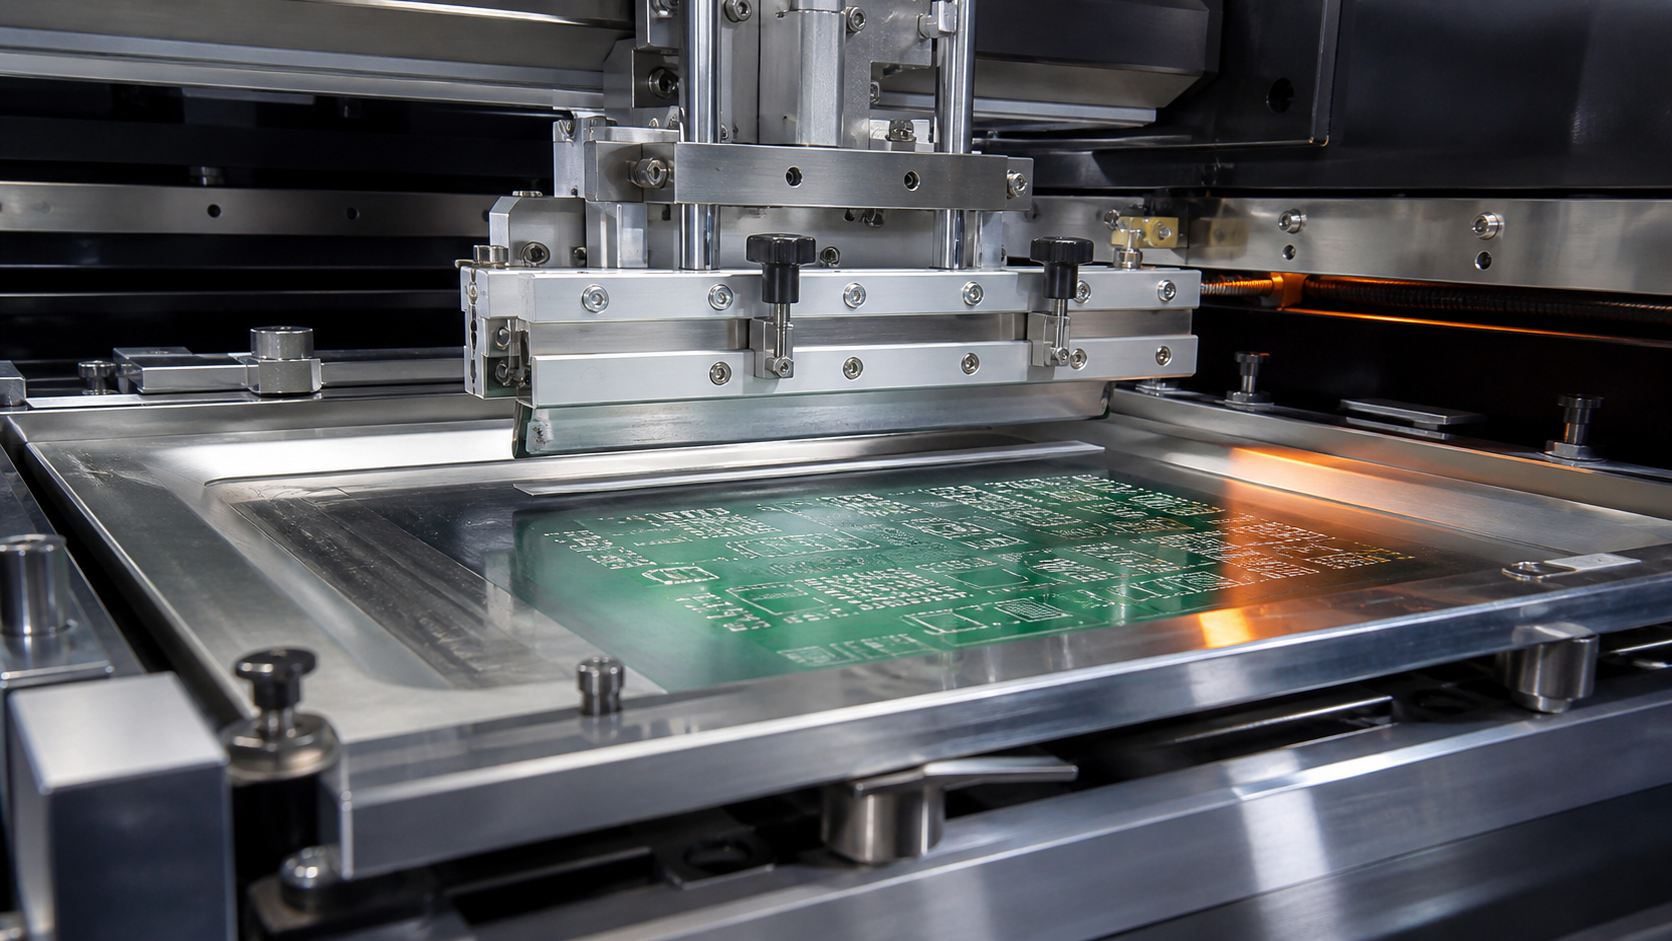
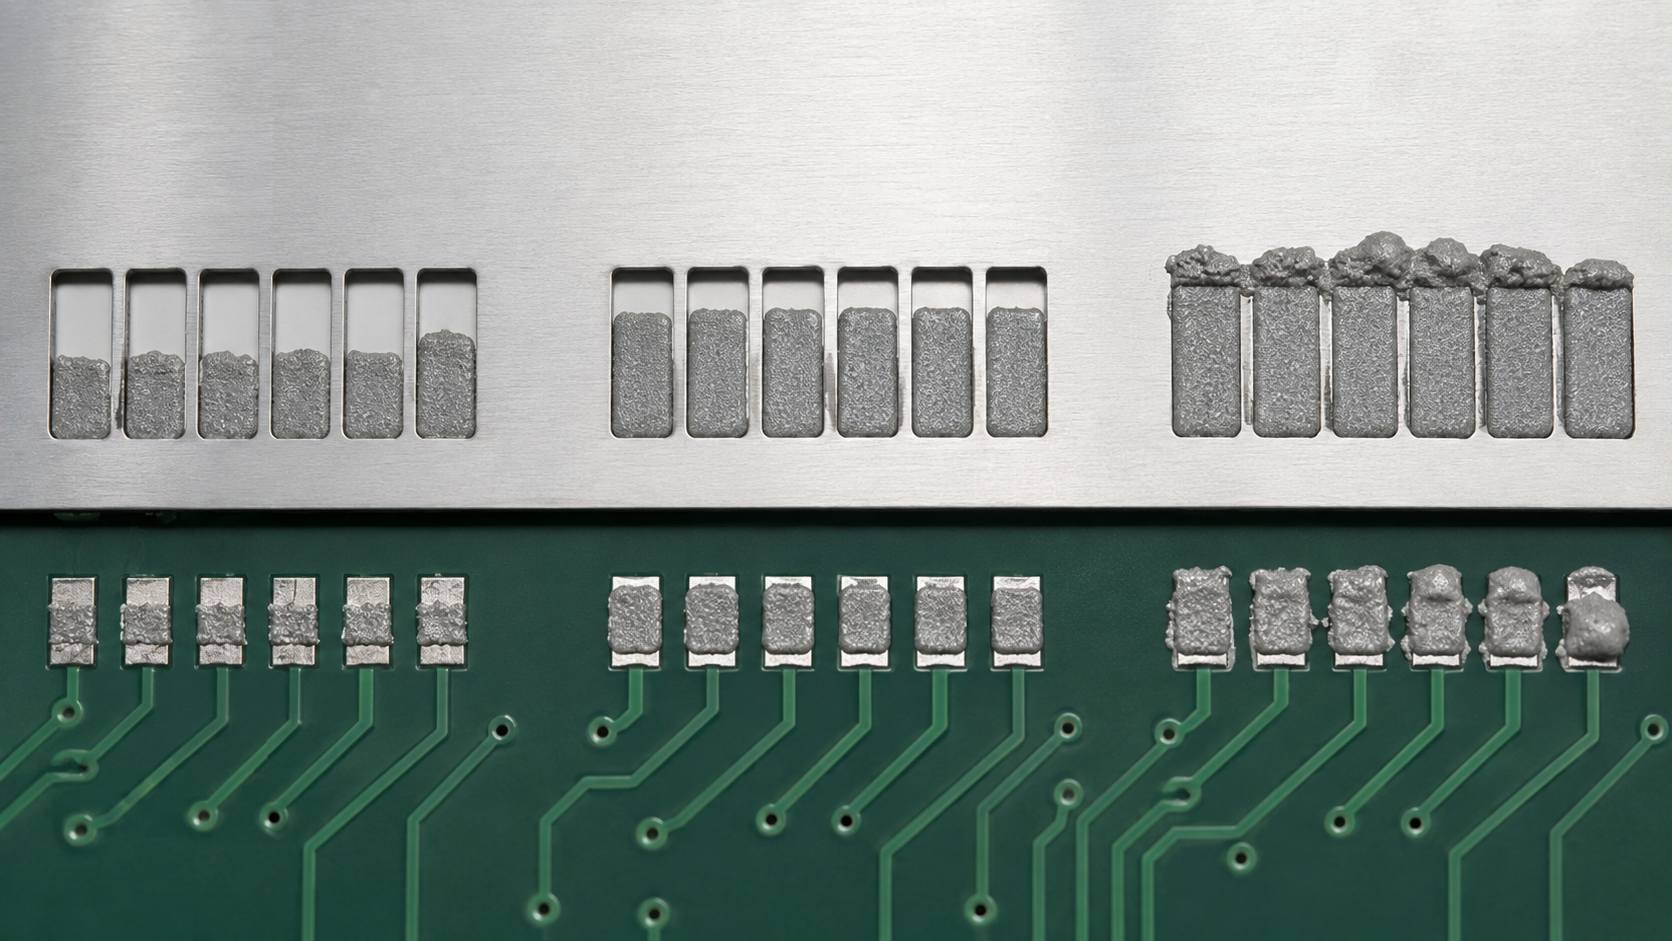
First-pass defects are often discovered downstream, but their cause can begin at solder-paste transfer. A printer may align accurately while deposits remain inconsistent because board support, gasket contact, paste condition, cleaning and separation were not checked as one controlled system.
Keep the evidence boundary clearPublished alignment capability does not prove the paste-transfer result for a specific board, stencil, paste or actual used machine.
02 · Process context
Causes
- Uneven board support or weak stencil-to-board gasketing can change transfer at fine apertures.
- Squeegee pressure, speed and separation settings may be copied from another assembly without matching the actual stencil, paste and board.
- Underside contamination or paste-condition drift can create a pattern that looks like an inspection or placement issue.
03 · First-board checks
Check in a controlled sequence
- Confirm board support, clamp condition and gasket contact before changing a recipe.
- Inspect deposits at the smallest critical apertures, not only at large easy-to-fill pads.
- Change one process variable at a time and record the stencil, paste, board and cleaning conditions.
- Verify that underside cleaning removes the observed residue rather than assuming the programmed interval is adequate.
04 · Controlled action
Practical actions
- Use the least squeegee pressure that produces a clean wipe, then validate transfer with the actual board design.
- Run product-specific speed and separation trials where aperture area or component mix changes.
- Record cleaning cadence with transfer evidence so gradual drift can be separated from a single setup error.
- When reviewing a used stencil printer, request evidence for alignment, board support, cleaning hardware, transport, software and the target process window.
05 · Avoid false confidence
Common mistakes
- Using one generic recipe for different aperture geometries or board finishes.
- Treating published alignment repeatability as proof of paste-volume capability.
- Changing pressure, speed, cleaning and separation together, then being unable to identify which change helped.
06 · Boundary of the guide
Applicability limits
These checks are starting points, not universal release limits. Paste chemistry, stencil thickness, aperture design, board finish, support method and equipment configuration all affect the final window. Confirm the actual process with controlled trials and unit-specific evidence.
Technical sources